Get Started
moss packs the markdown files and other media in your folder into a website. You can use any markdown editor, such as Obsidian, or moss's built-in editor, to write and add other material. moss is macOS-only for now; Linux and Windows are coming in later releases.
Please submit bugs and feature suggestions on Github.
Create your site
Download and install moss.
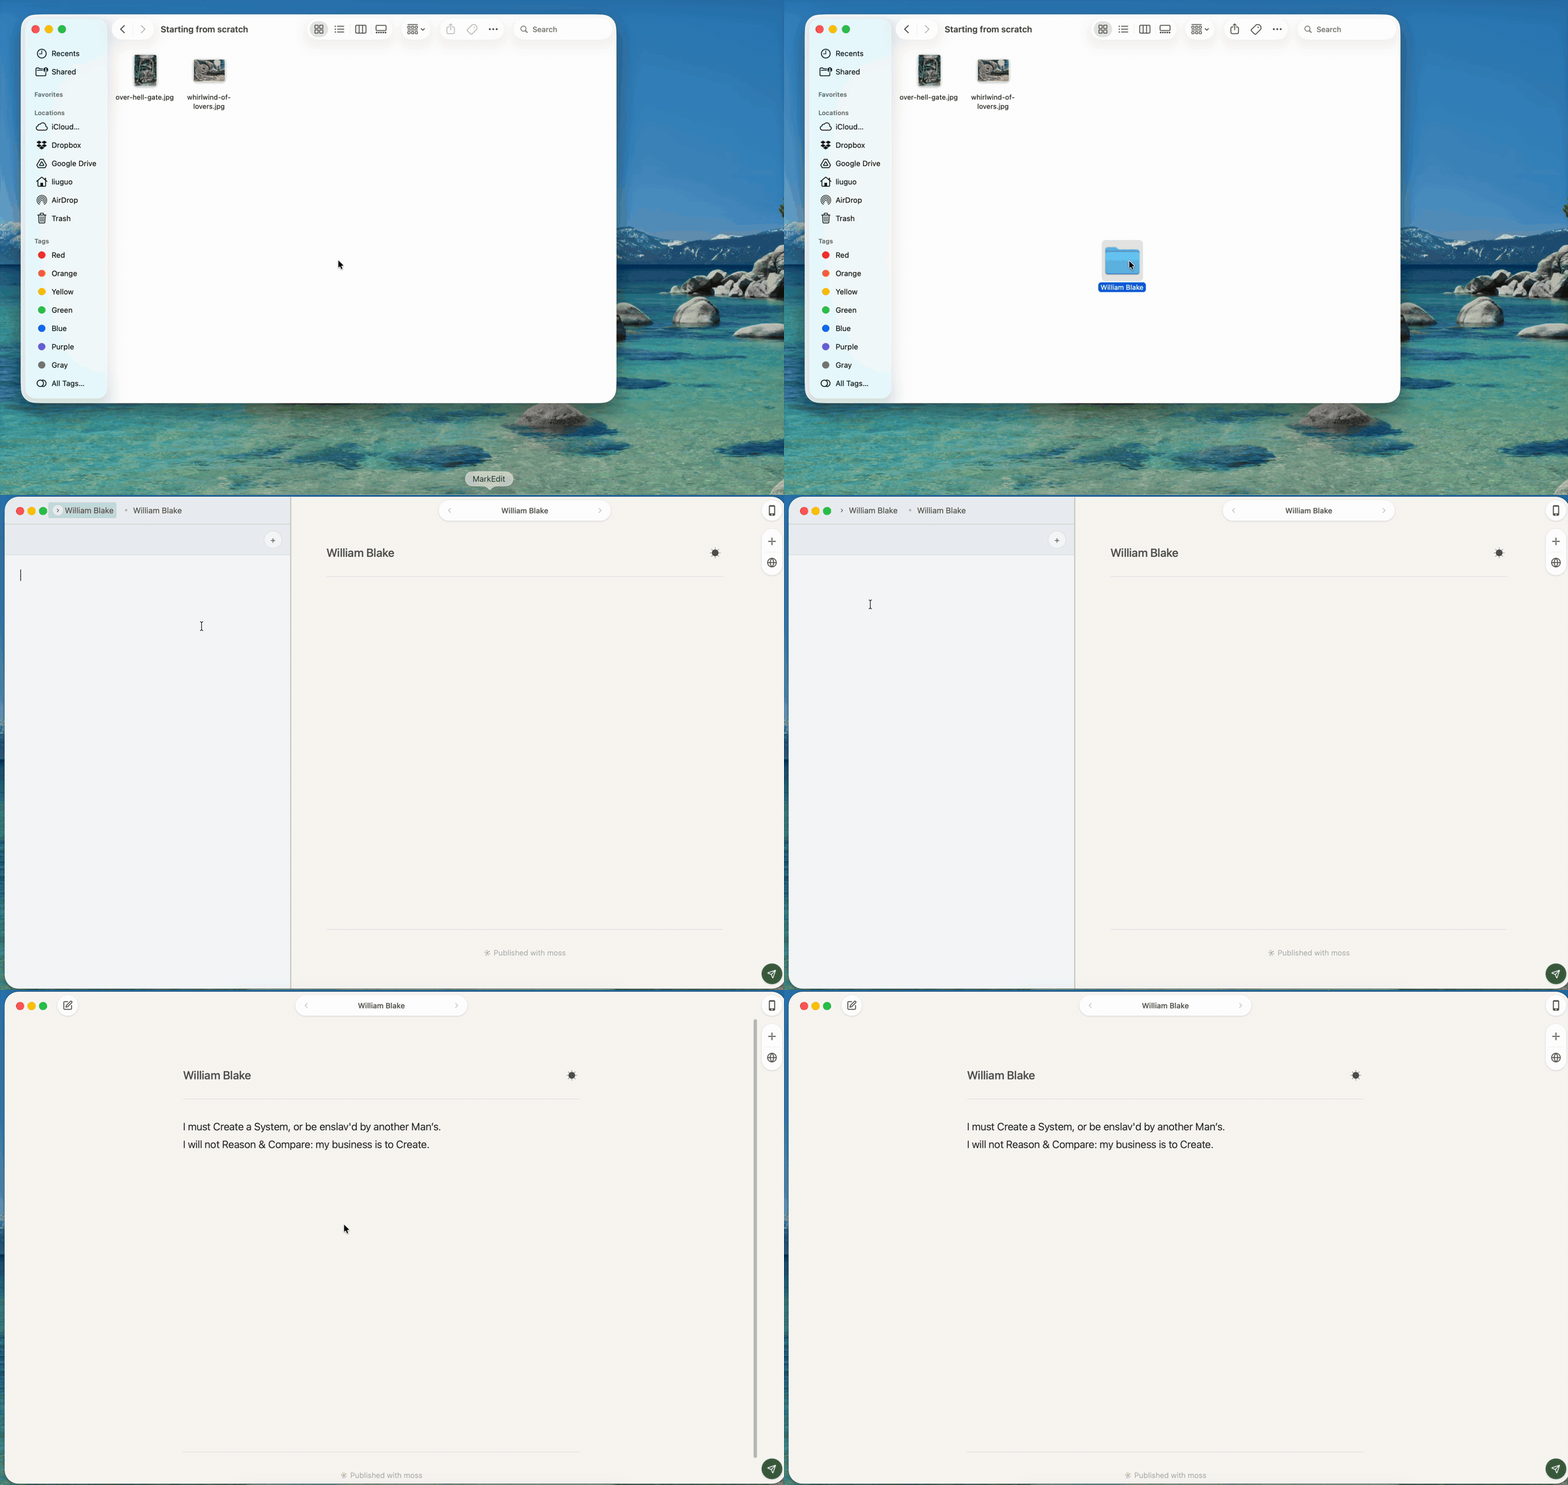
Create a folder and name it after your site. Right-click it and choose Publish, or double-click the moss icon and pick the folder — either one launches the moss preview. moss opens the editor automatically, so you can start writing and watch the preview update live.
In the preview window on the right, your site is already generated, with light and dark styles built in. Drag the divider left or right to close the editor or the preview and cut distractions.
Formatting & media
Select some text and moss brings up a toolbar to turn it into a heading, bold, a link, and more.
Type / at the start of a new line to open the insert menu, where you can add headings, links, media files, special formats, and other blocks. You can also drag images, videos, audio, notebooks — even webpages — straight in from other folders to embed them in a page.
You can also control formatting from the keyboard:
- Markdown syntax:
# heading,**bold**,* list itemon a new line, and so on. - Wikilinks:
[[file|link text]]makes a link, and[[file|title]]embeds a media file in the page.[[triggers a local search, so you only need to type part of a filename.
Site structure
Your site's structure is your folder structure: every folder and markdown file becomes a page, and moss builds the top navigation from the file paths automatically. A folder page renders its child files and folders by default, and the home page renders every file.
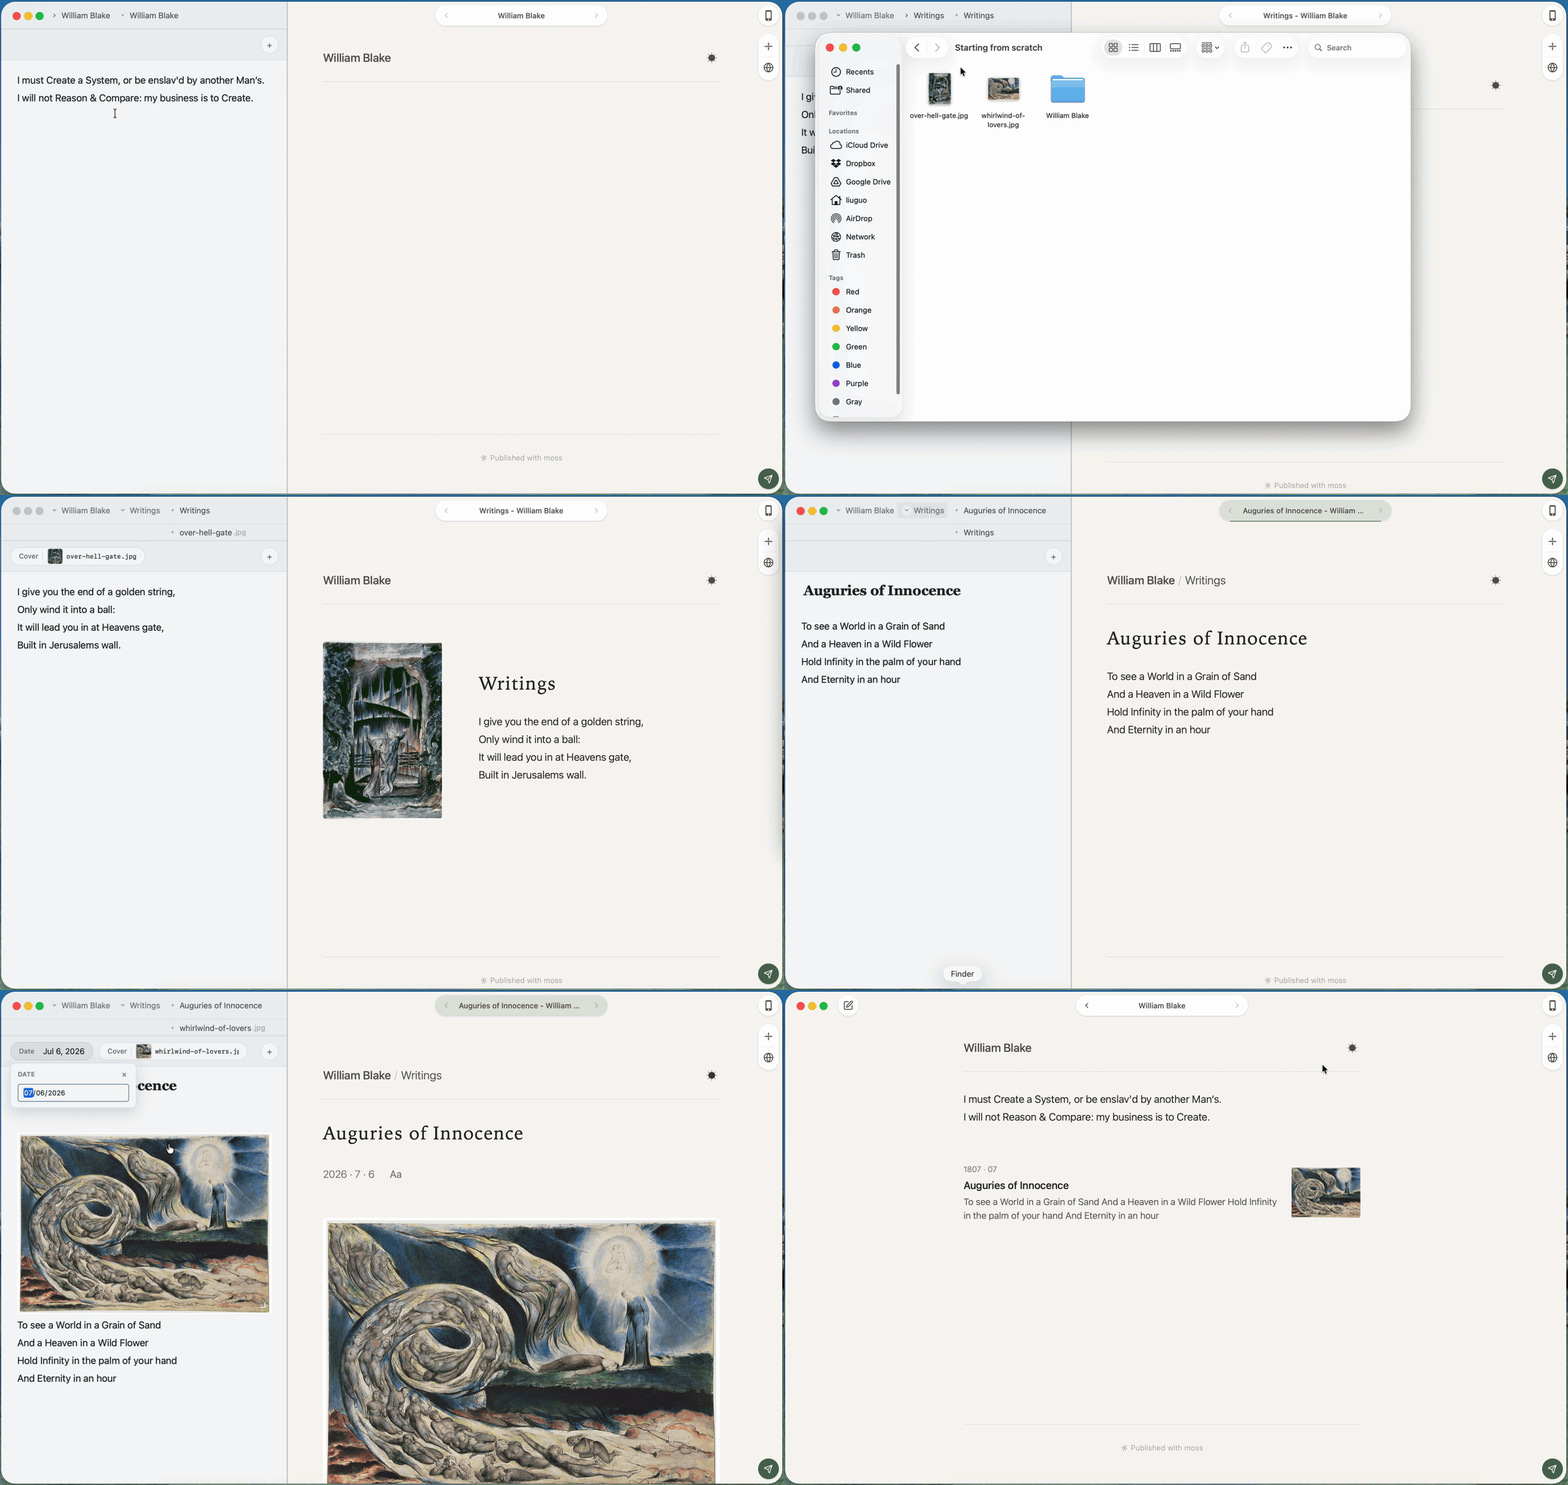
Create new folders and files in the editor and each becomes a new page:
- Click New Page above the tree. ▶
- Above every page is a + — click it and search for a property, such as Cover, to add it; date and subpage style work the same way. ▶
Publishing & domains
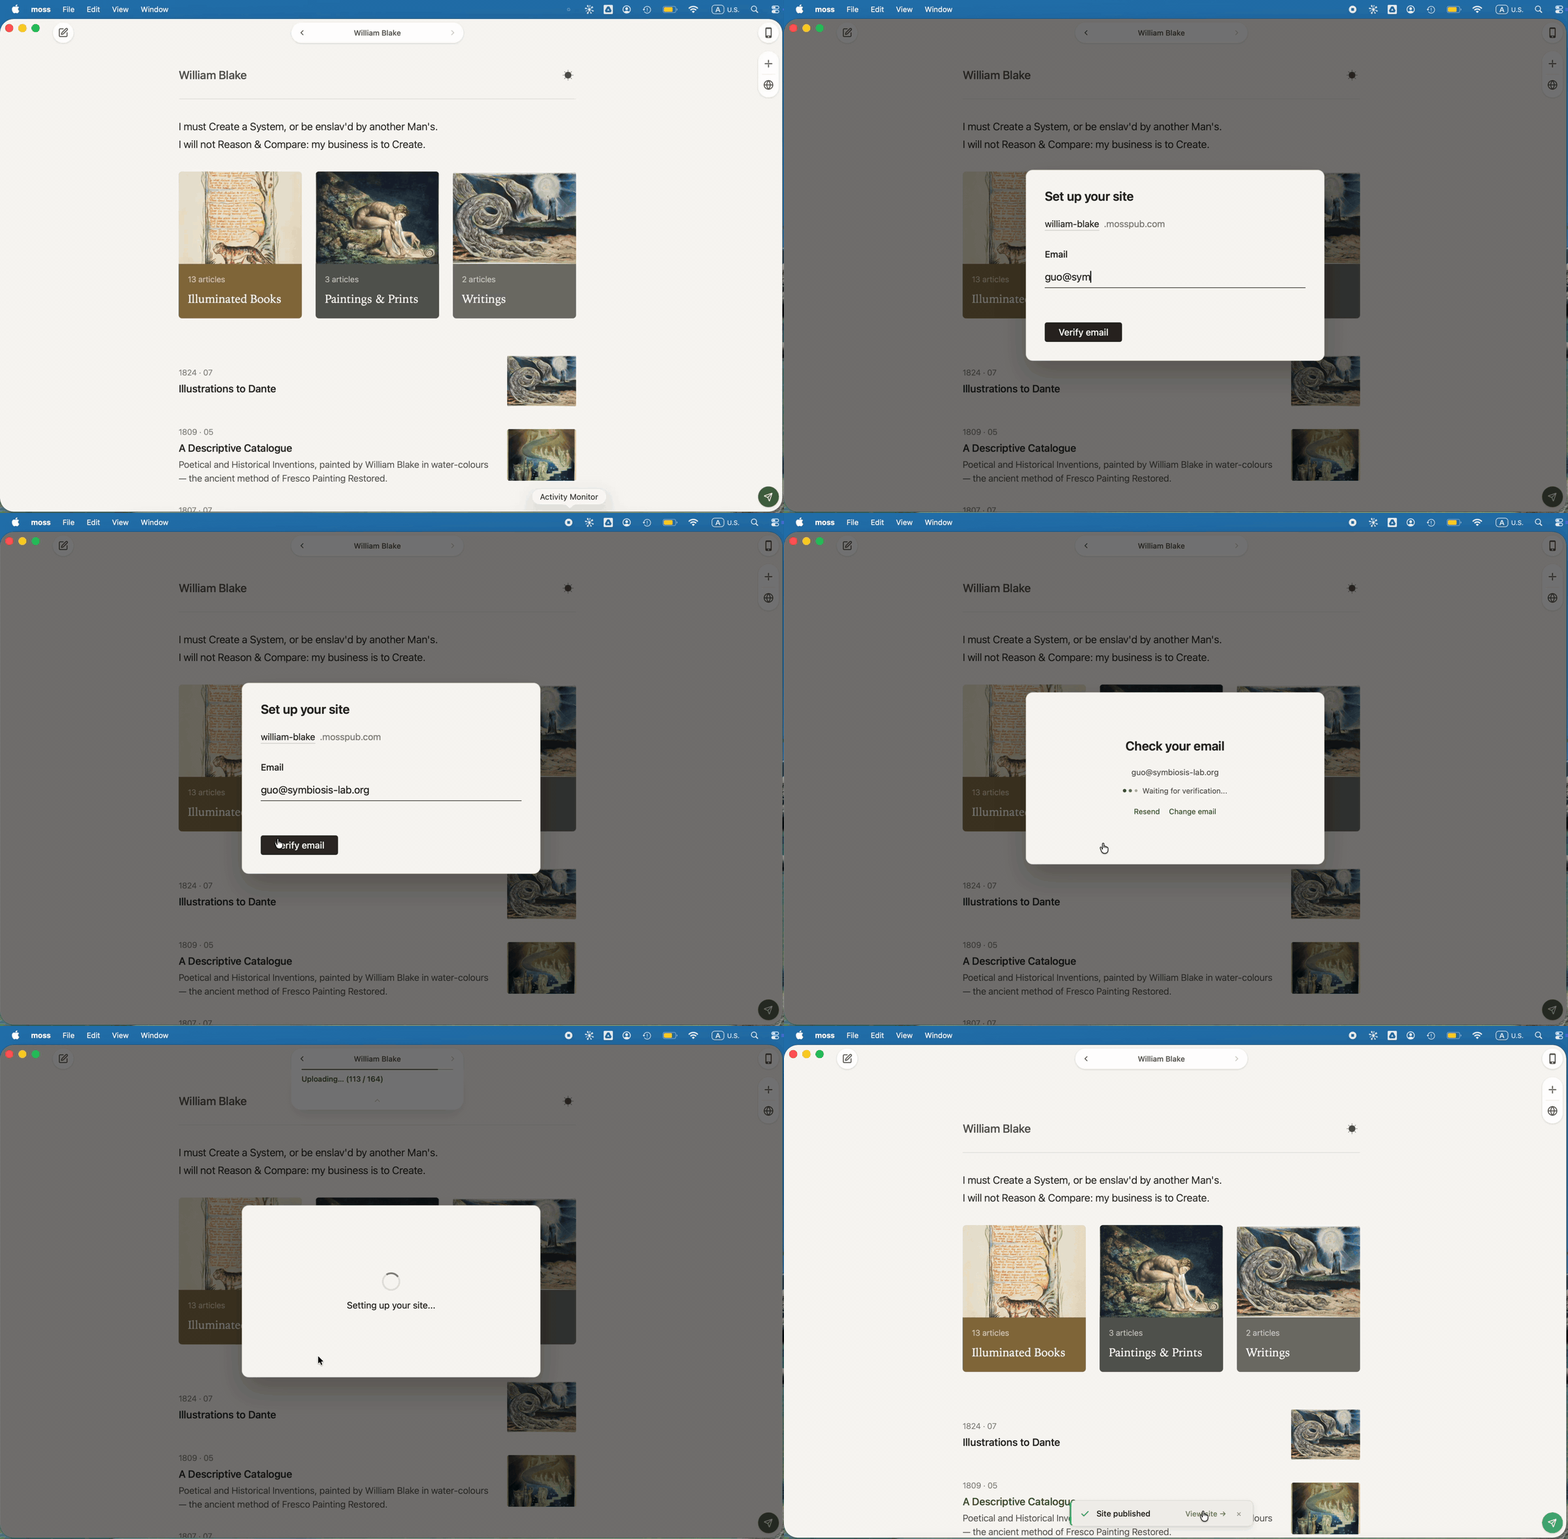
Once your site takes shape, click Publish in the preview window and it goes live. The first time you publish, moss verifies your email and lets you pick a free mosspub.com subdomain for your site.
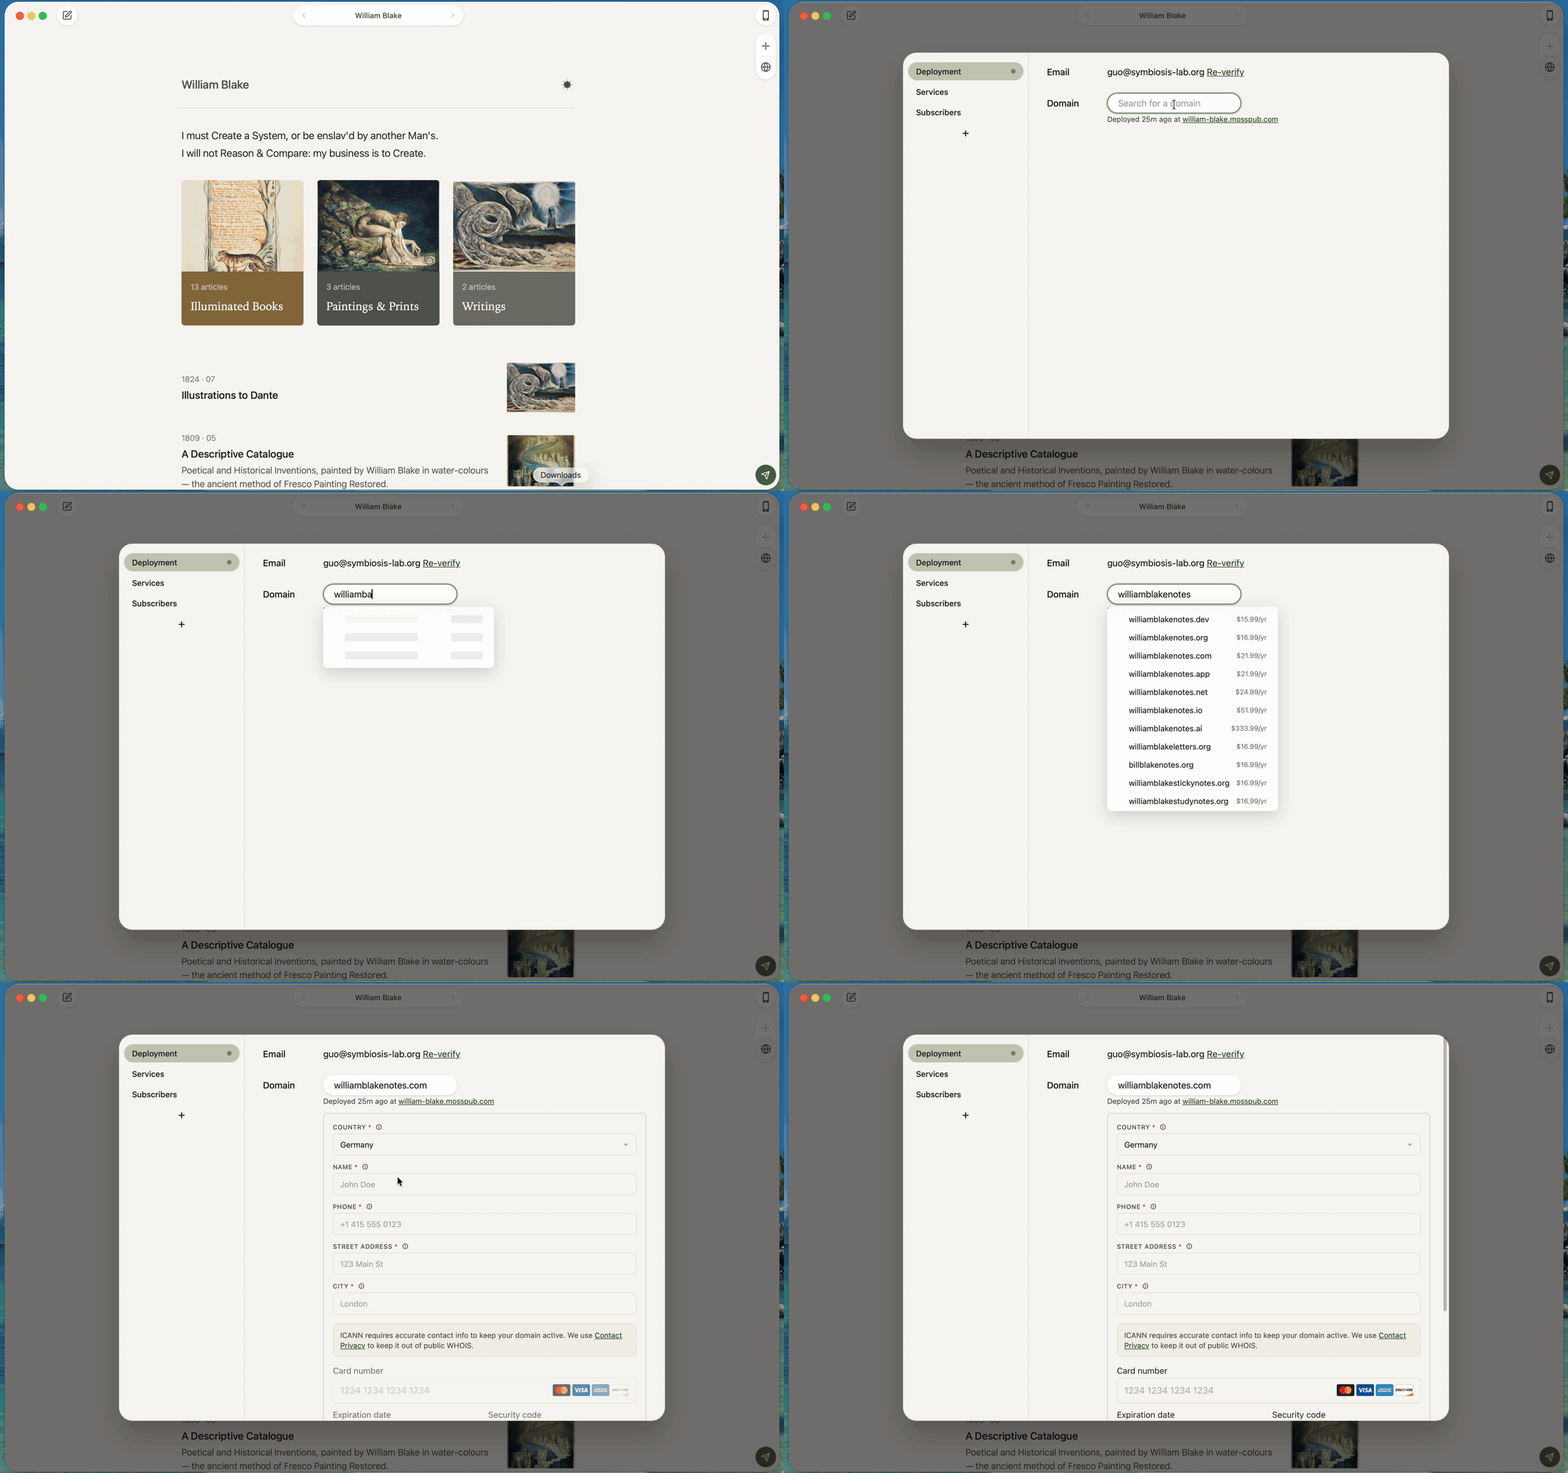
At any time, open the menu at the top-right of the site icon and go to Settings to buy a custom domain. Once you do, moss configures the domain and CDN (content delivery network) for you automatically.
Mailing list
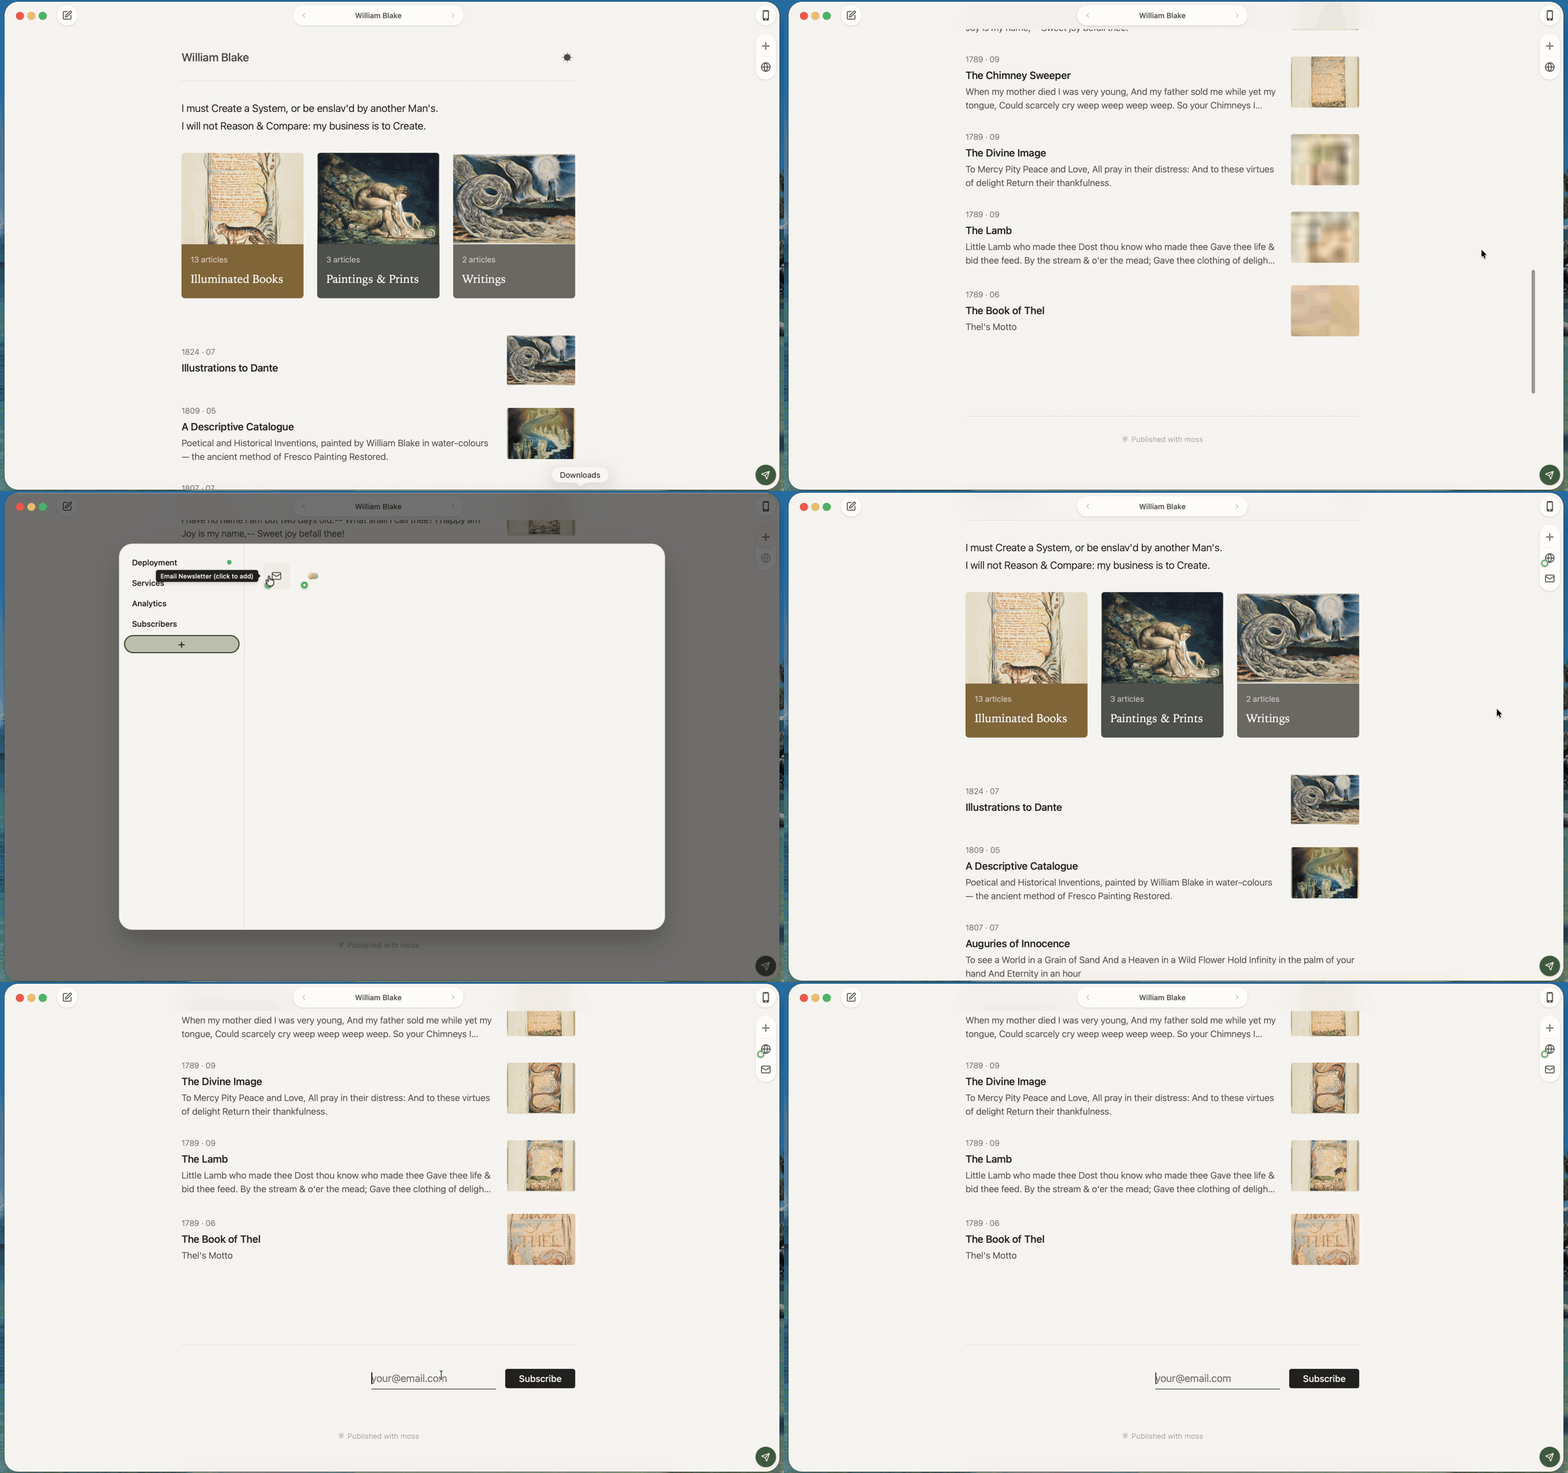
Enable a mailing list so readers can subscribe to your work by email.
Click the "+" on the right of the preview and add the email channel, and a subscribe box appears in your site's footer automatically. When you finish a new post, tick the email channel; after moss deploys the site, it opens the email composer so you can preview and confirm.
What's next
The moss editor is meant to be intuitive — just play around, there are no rules to learn first. But if you want to go deeper on building a site with moss, these docs will help.
Writing & editing
- Meet the editor and preview
- Write with Markdown syntax
- Set page and site properties with frontmatter
- Reference other pages and media with wikilinks
- Insert special layouts and features with shortcodes